If MX bike tuning is on the agenda this year – you’re going to want to read this…
 Auto-Tek – Chances are you’ve heard of them on the MX circuit or have used them yourself – but one thing is certain – if you’re considering tuning your kids bike you’ll want to get in touch with them.
I was lucky enough to grab some time with Pete, the brains behind Auto-Tek, to talk about his job, why his method of tuning is the best in the business and where it all began.
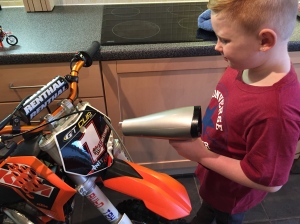
Pete is based in Doncaster, just down the road from FatCat Moto Parc and he’s got a great workshop to meet the needs of his business. When I visited he had both of Nitro Neo’s bikes in his workshop, three other autos, an 85 and a 125. Pete had just finished a tuning project ready for the owner to collect later that evening, freeing up valuable space to work on his next bike.
I can’t help but feel a bit out of my depth as Pete guides me around his workshop showing me all of the different parts he has hand-made, the tools he uses and talking about projects he has worked on, but one thing is clear – this man knows his stuff, and is one of the most passionate people I’ve met. When it comes to tuning motocross bikes, there is nothing he hasn’t tested, nothing he doesn’t know, nothing he hasn’t thought about. Pete’s spent a long time developing his products to the stage they’re at now. I was surprised to learn Auto-Tek also offer the full range of MX services, not just tuning.
From humble beginnings, to race tuned machines
Pete tells me: “I always wanted to be a motor mechanic, I think it’s because my family was in the car trade when I was a teenager. I’d always been into bikes, but my trade began with cars and I’ve been building engines for thirty years. I’ve built engines for rally cars, banger racing cars and bikes.”
So, with a background in building car engines, where did Auto-Tek come from and how did Pete start working on bikes?
Pete: “I used to ride a motocross bike for fun, but I didn’t compete. I have two children and when my eldest, Lauren Collingwood, started in the auto class I made some friends and contacts when taking her to races. One person I met – who was a tuner – had cylinder kits from Italy which he would bring over and sell as a bolt-on upgrade. He was based in the south of England so any parts he shipped stayed in the south, with very little being distributed in the midlands and the north so we had a chat and spoke about franchising his business.


“I spent a day with him, fitting some kits and came away with 10 cylinder kits to sell myself. Off I went back to Doncaster, and that’s where Auto-Tek began, as a franchise selling pre-tuned parts. One thing led to another and I decided to do some testing and develop my own specification and tuning to upgrade motocross bikes and I ended up specialising in youth bikes.”
But that’s not the extent of Pete’s skills at Auto-Tek. He is able to set suspension, rebuild engines, build wheels and build bespoke bikes from the ground up. Pete tells me: “It’s got to the point where most of the local bike shops will send wheels to me to repair, respoke or build – it’s actually more cost effective for them to outsource the work to me, plus I’m good at building them so it’s a win win situation. I’ve done this for so long; I’ve built parts for Harley Davidson’s and I also took part in the British Biker Build Off around five years ago!”

“When my son was racing in the autos I designed him a 50cc Cobra. It took me six months from start to finish and I did the whole thing, from hand made aluminium carriers to modifying the exhaust and carb. There wasn’t a part of that bike I didn’t upgrade and it was amazing. It featured in TMX before I sold it on.”
Let’s get down to business
It’s clear a lot of experience has been built up over the years but I could see specialist tools and equipment had also been built up over the years such as porting tools and a large press for pushing bearings and crank shafts – most importantly, I’d say, is the industrial heater he has in there to keep him going in the winter months! No one wants cold hands when putting bolts back onto a bike, hey!
-

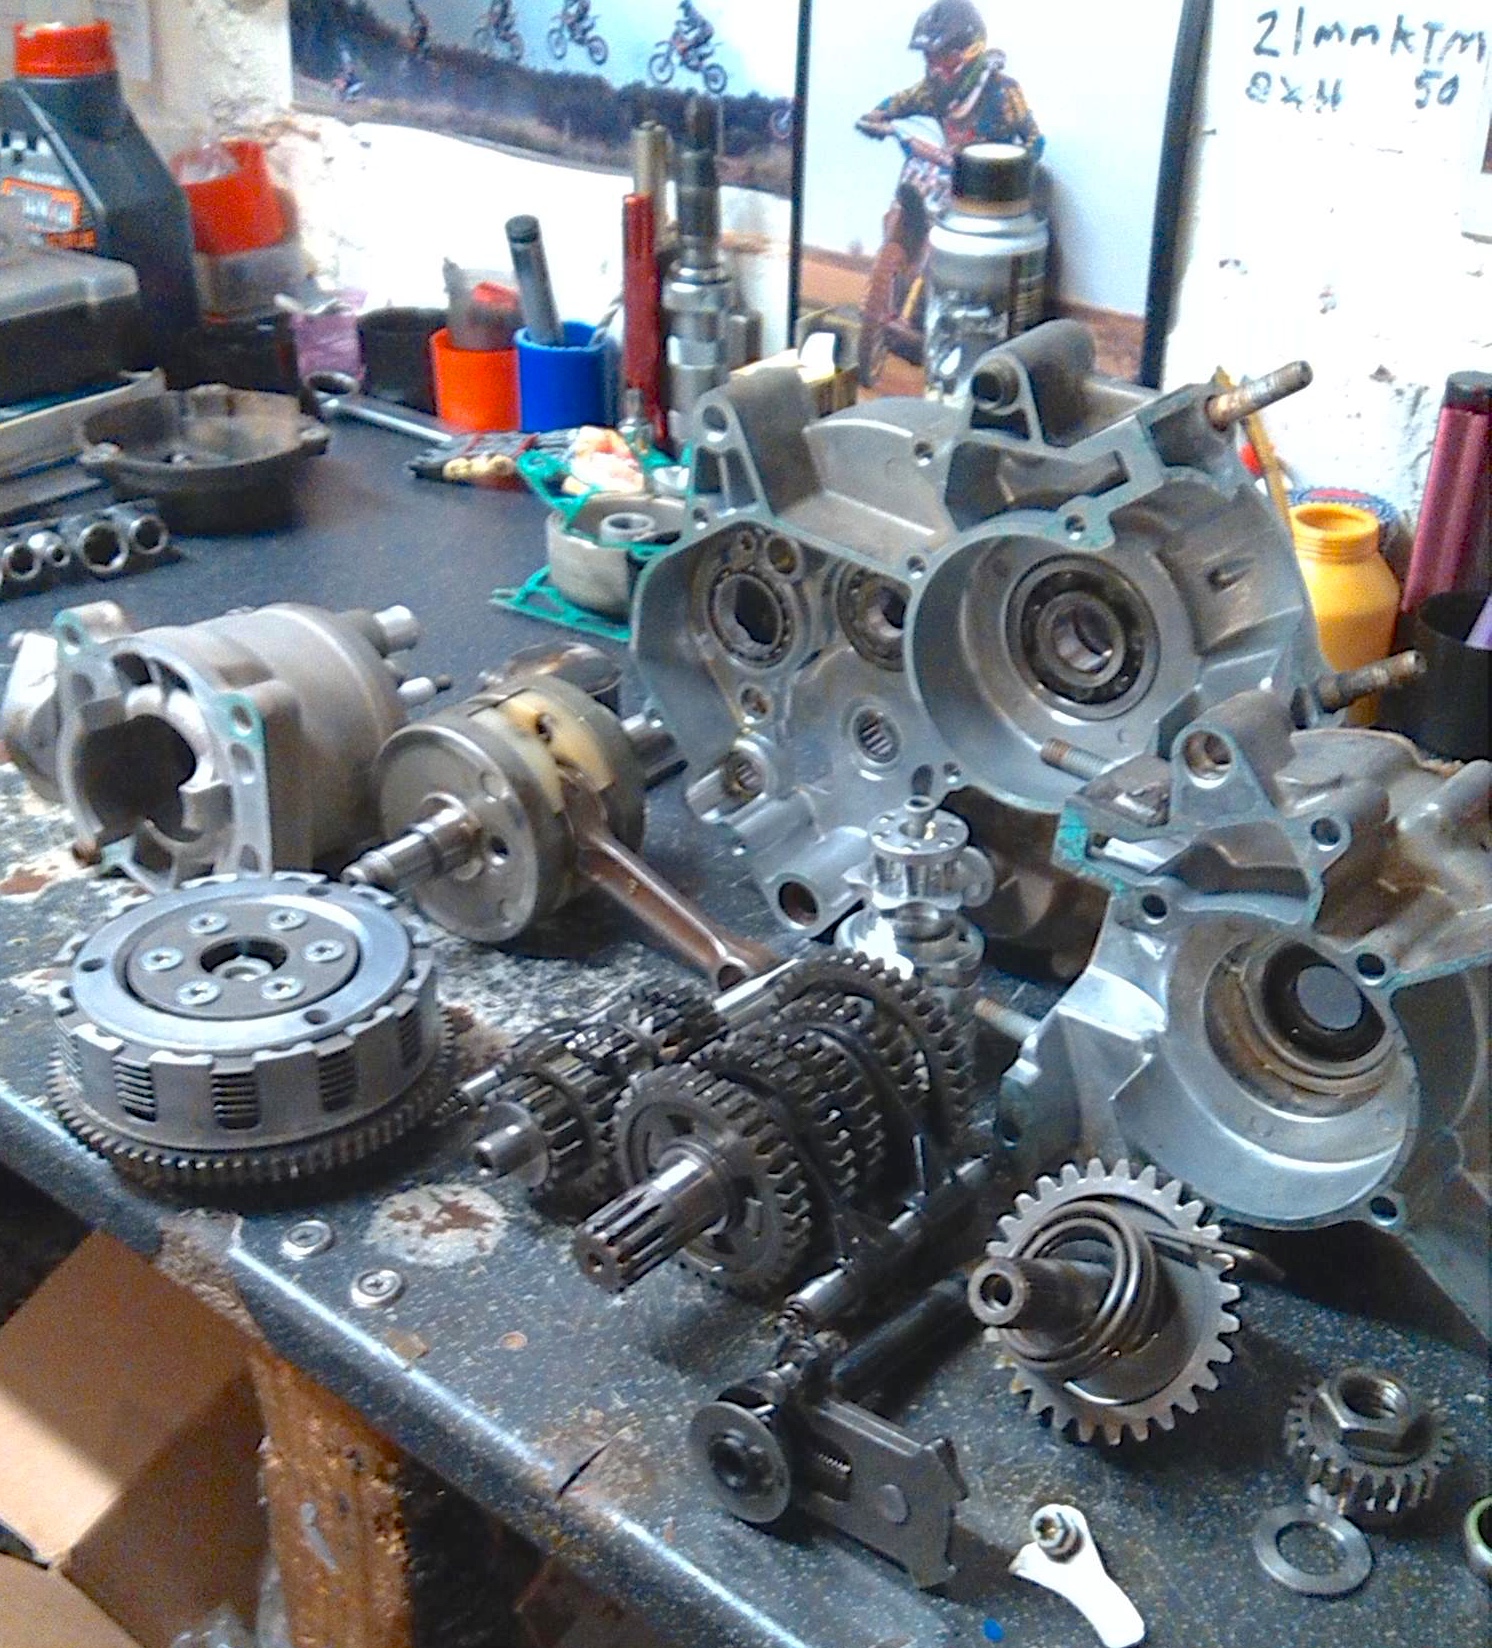
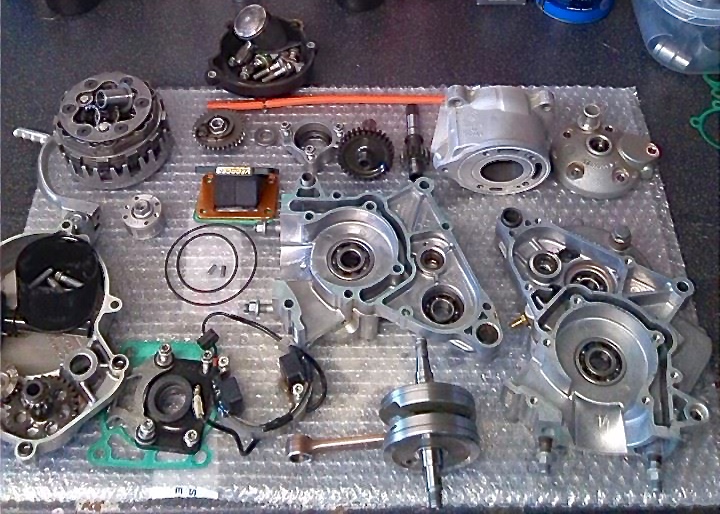
- Part of the process to improve the flow of fuel
-

- A power-up kit ready to ship to customers confident enough to install themselves
-

- Pete tunes ports to precise measurements
BBTB: How can people get their bike tuned by you?
Pete: First of all, get in touch because tuning is not something to be afraid of, it improves efficiency and gets the most out of your bike. Generally, I’d rather have the full bike delivered if possible. I also get quite a few brand new bikes delivered straight to me for tuning, the owner then picks it up from me instead of the dealer all tuned and ready to go.
Alternatively, I’m happy for engines to be couriered to me, and I’ll return them when complete as long as the owner is confident in putting the engine back in the bike. I’m always at the end of the phone for anyone needing help though.
BBTB: How long have you been working on your current configuration for the KTM 50SX?
Pete: A very long time, but I have made significant developments to the kit and stator tuning over the last six months. This has allowed me to get it to where it is now, test it and make sure it’s reliable.
BBTB: What are the benefits to having a bike tuned by Auto-Tek?
Pete: Without a doubt, more speed, more power, more torque; the ride-ability of the bike will also be improved.
BBTB: We all know MX bike engines are worked extremely hard, and can be prone to problems. Do you think your tuning is as reliable as a standard engine?
Pete: Yes my tuning has been developed, tested and proven reliable. It has to be as my reputation is based on my work. You just have to be strict with your maintenance routine. Keep on top of piston changes – they must be a regular part of maintenance – I would recommend doing a piston change every 8 hours or less due to the high revs.
Saying that, piston changes are an absolute must on any race bike. Maintenance is key. If done regularly and properly your bike will stay tip top.
BBTB: Do you test an engine’s performance before and after tuning to measure improvements?
Pete: I’ve spent so much time developing the tuning kit, and testing it that I have been able to standardise the process to make sure I get consistent improvements from every tune; I now know each bike will get the same additional power after every tune.
A great deal of thought and science has gone into each rebuild, and to save the complicated part of explaining the ins and outs, I know exactly what needs to be done to get a bike to optimal performance and each and every one is improved.

BBTB: Do you offer advice on maintenance?
Pete: I’m always at the end of a phone if anybody needs me. It’s not a case of sending in your bike or engine, I do the work, and never hearing from me again. I want people to get the most from their tuned engine, and that means I make myself available and I am willing to give advice, help and support if my customers need it.
BBTB: We can verify that – Team Nitro have called Pete up a fair few times for advice, and true to his word he has been there and helped us out!
Sponsorship and successes
BBTB: First, thank you for supporting our team rider Nitro Neo through the 2015 race season. For those who don’t know, Auto-Tek has tuned Team Nitro’s practice and race bikes ahead of Neo competing in the GT National Cup, Lucas Oil Auto GP, MX Master Kids (International and UK series) and Club Championships this year.
Pete: It’s a pleasure. Nitro Neo is one of a very limited number of racers receiving full sponsorship support from me this year. I get lots of requests for sponsorship, but I can only invest my time and resources in to a few riders who show true potential and from what I’ve seen Neo has just that, he’s going from strength to strength. I wish him all the best for a successful future on his Auto-Tek tuned bikes.


BBTB: How many riders will receive full sponsorship for 2015?
Pete: Nitro Neo and two other racers.
BBTB: Do you offer reduced packages to customers?
Pete: Not routinely. Whilst I’d love to be able to offer everyone something like that, I have a business to run. I will always try to look after people, keeping my prices competitive and reduce costs all round where I can. I genuinely appreciate the support I receive from my customers but as a tuning business I have to spend many hours and a lot of money to get the bikes to where they need to be, so I have to be selective with any sponsorship. From time to time I will run promotional offers.
BBTB: That’s enough money talk, tell me about the riders who’ve been successful racing on bikes that you have tuned.
Pete: One of the most recent racers was Ollie Colder. He won the GT cup last year. Also, Lewis Hall who was the 2013 Team Green Kawasaki race winner in the British Youth Nationals. My daughter, Lauren Collingwood, has won more nationals than anyone I can mention and each win has been on a bike I’ve tuned.
I usually get a minimum of one national win a year.
BBTB: Well, I can’t argue with that, you’ve certainly had a lot of success and high profile race wins!
BBTB: Finally, can you describe the best part of your job? You’re very lucky to do something you love, but what keeps you going and makes it worthwhile?
Pete: Having two children that race motocross (Kian, 12, and Lauren, 18) – I basically do all of this for them! I love that they are so passionate about the sport, I also love tuning bikes as a job but it’s an added bonus knowing that they enjoy it too.
Everything I do is for my kids. Not many tuners can say that, and none will have kids that race like mine and that are national champions and have the passion for motocross just like I do.
How you can talk tuning with Auto-Tek
If tuning was on your agenda, I’m sure you’ll now be interested in talking with Auto-Tek to see what can be done for your bike. I hope we’ve given you an insight into Auto-Tek and the science of tuning. Pete also provides the full range of services you need from routine maintenance and engine rebuilds, to refreshes and engine tuning.
You’ll find Auto Tek on Facebook: https://www.facebook.com/autotek.tunning or give Pete a call to chat things through on 07903 980369. Be sure to mention you heard about him from Nitro Neo.
![]()


 5. Wet your second cloth in the bowl of water and wring it out really well before wiping over the plastic you have just cleaned with acetone, this makes sure there is no trace of solvent left on it; dry panel with a quick waft of the hairdryer.